> For the complete documentation index, see [llms.txt](https://docs.eclipse.xyz/llms.txt). Markdown versions of documentation pages are available by appending `.md` to page URLs; this page is available as [Markdown](https://docs.eclipse.xyz/developers/wallet/testnet-and-devnet-wallets/custom-wallets.md).
# Custom Wallets
{% hint style="info" %}
This section aims to help us enable custom wallet support for Solana Wallet Adapter.
{% endhint %}
### What is the Solana wallet adapter[](https://icarus131.github.io/devcookbook/docs/SolanaWalletAdapter#what-is-the-solana-wallet-adapter)
It is a collection of components for solana applications built with typescript or javascript to help interact with wallets on the client side.
### Eclipse Wallet[](https://icarus131.github.io/devcookbook/docs/SolanaWalletAdapter#eclipse-wallet)
Eclipse maintains a fork of the Salmon wallet. This is the wallet that is recommended to be used on the devnet. Follow [this guide](https://docs.eclipse.builders/building-on-eclipse/developer-wallet-setup) to setup the Eclipse wallet. You can also use [Drift's MetaMask Snap](https://docs.eclipse.builders/building-on-eclipse/developer-wallet-setup#metamask-snaps).
### Writing support for a custom (Eclipse) wallet[](https://icarus131.github.io/devcookbook/docs/SolanaWalletAdapter#writing-support-for-a-custom-eclipse-wallet)
#### Prerequisites[](https://icarus131.github.io/devcookbook/docs/SolanaWalletAdapter#prerequisites)
As Solana wallet adapter is a JS/TS specific library, we need to initialize a project with a preferred framework. Let's create an example application using next:
```bash
npx create-next-app custom-wallet-adapter --ts
cd custom-wallet-adapter
```
After that, install the wallet adapter library.
```bash
npm install @solana/wallet-adapter-base @solana/web3.js @solana/wallet-adapter-react @solana/wallet-adapter-wallets
```
#### Initializing Wallets[](https://icarus131.github.io/devcookbook/docs/SolanaWalletAdapter#initializing-wallets)
Edit `_app.tsx` file located inside the `src` folder or the `app` folder depending on how you have setup the next app. Here we are using the adapters for the supported wallets:
```tsx
import "@/styles/globals.css";
import type { AppProps } from "next/app";
import head from "next/head";
import {
ConnectionProvider,
WalletProvider,
} from "@solana/wallet-adapter-react";
import { useMemo } from "react";
import { SalmonWalletAdapter } from "@solana/wallet-adapter-wallets";
import { SnapWalletAdapter } from "@drift-labs/snap-wallet-adapter";
import { clusterApiUrl } from "@solana/web3.js";
```
Now, initialize the allowed wallets in our `_app.tsx` file. Here we can set the network and also add the Eclipse RPC:
```tsx
export default function App({ Component, pageProps }: AppProps) {
const driftSnapWalletAdapter = new SnapWalletAdapter();
const wallets = useMemo(
() => [new SalmonWalletAdapter(), new SnapWalletAdapter()],
[],
);
const endpoint = useMemo(() => clusterApiUrl(), []);
return (
);
}
```
We have successfully used the `@solana/wallet-adapter-react` to setup the connection and the wallet provider.
### Filtering Wallets[](https://icarus131.github.io/devcookbook/docs/SolanaWalletAdapter#filtering-wallets)
When a user has multiple wallets installed on their browser, each of the wallets will have a readyState value set to "Installed". This causes certain unsupported wallets to be autodetected. This can be fixed by white-listing only the supported wallets.
To do this, we must first create a new component. You can name this `Wallets.tsx.`Here we have an array of supported wallets. This makes it adding support for wallets much more modular. To add a supported wallet, once we modify the `_app.tsx` we just have to add the wallet to the array.
```tsx
const EclipseWallets = () => {
const { select, wallets, publicKey, disconnect } = useWallet();
const supportedWalletNames = ["Salmon", "Connect by Drift"];
const supportedWallets = wallets.filter(
(wallet) =>
supportedWalletNames.includes(wallet.adapter.name) &&
(wallet.readyState === "Installed" ||
wallet.adapter.name === "Connect by Drift"),
```
Now all that's left to do is to map the supported wallets and render them as buttons. As MetaMask Snaps do not return a readyState value, we must have an exception for it so that it displays regardless of the readyState.
```tsx
supportedWallets.map((wallet) => (
))
```
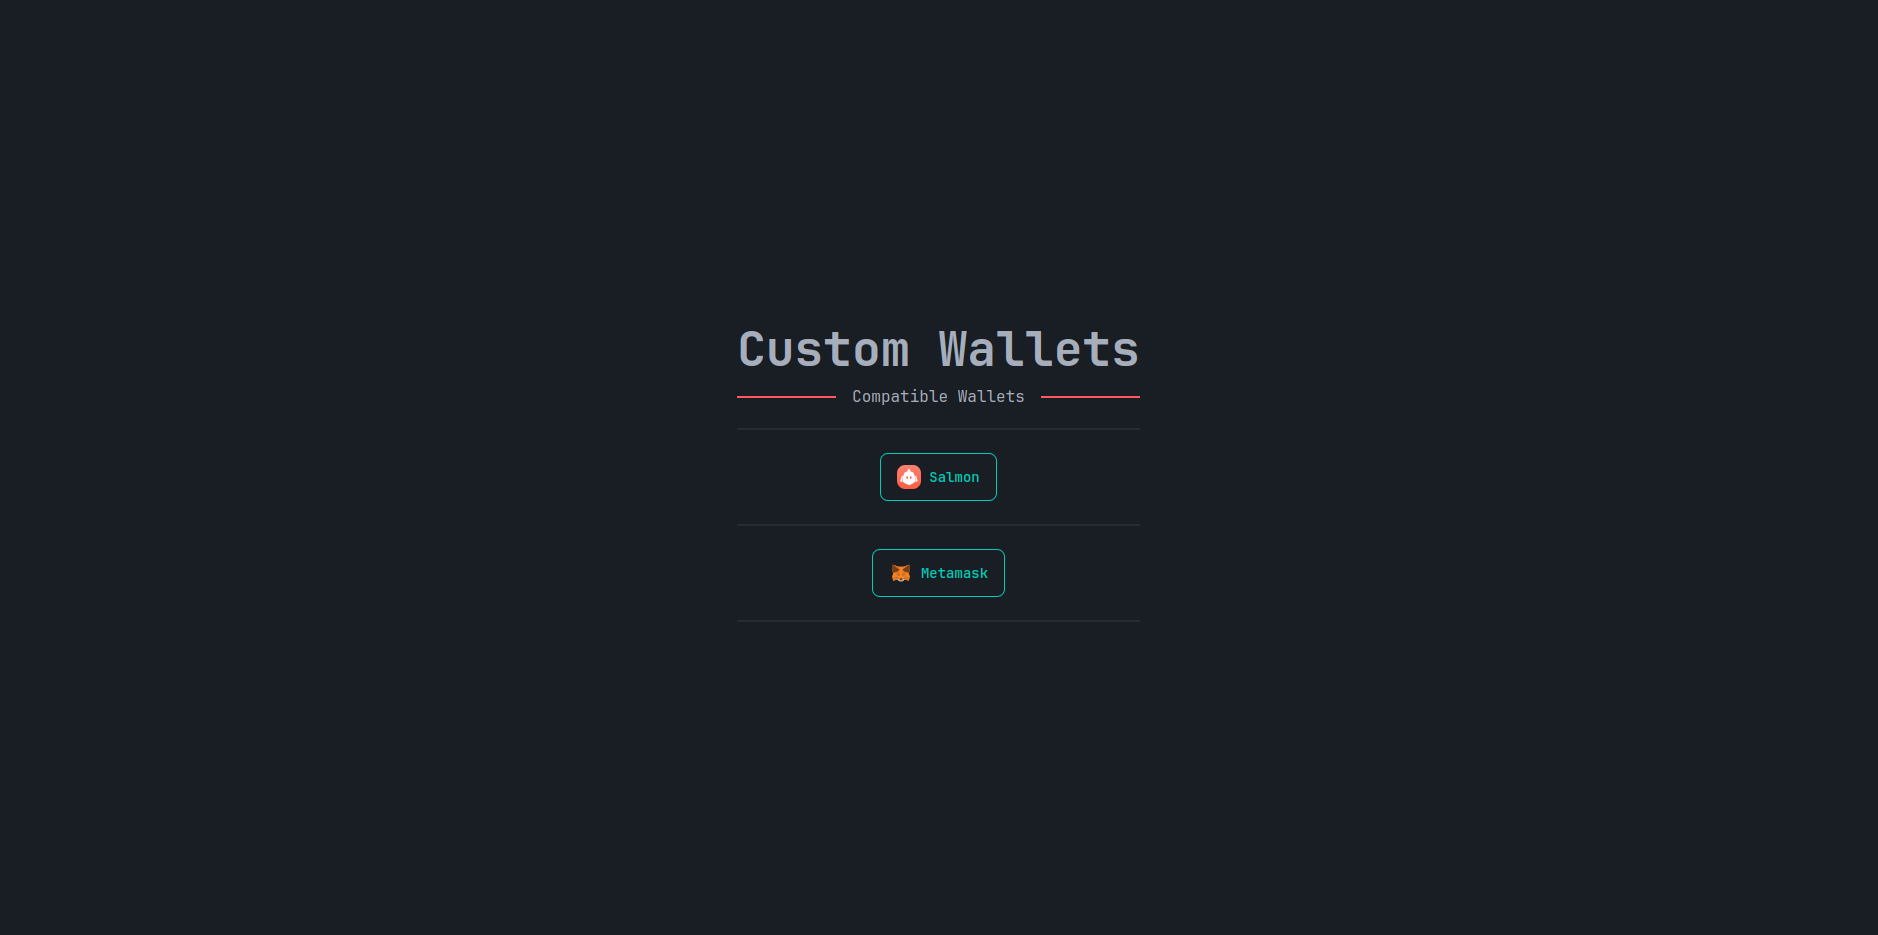
This will allow us to restrict the user to only be able to use Eclipse compatible wallets and also have the application detect only the supported wallets that are installed. Finally we can export the component and add it to our `index.tsx` file. Here is an example web application styled using DaisyUI:
---
# Agent Instructions
This documentation is published with GitBook. GitBook is the documentation platform designed so that both humans and AI agents can read, navigate, and reason over technical content effectively. Learn more at gitbook.com.
## Querying This Documentation
If you need additional information that is not directly available in this page, you can query the documentation dynamically by asking a question.
Perform an HTTP GET request on the current page URL with the `ask` query parameter, and the optional `goal` query parameter:
```
GET https://docs.eclipse.xyz/developers/wallet/testnet-and-devnet-wallets/custom-wallets.md?ask=&goal=
```
`ask` is the immediate question: it should be specific, self-contained, and written in natural language.
`goal` is optional and describes the broader end goal you are ultimately trying to accomplish on behalf of the user. GitBook uses it to tailor the answer towards what is most useful for that goal.
The response will contain a direct answer to the question and relevant excerpts and sources from the documentation.
Use this mechanism when the answer is not explicitly present in the current page, you need clarification or additional context, or you want to retrieve related documentation sections.