> For the complete documentation index, see [llms.txt](https://docs.eclipse.xyz/llms.txt). Markdown versions of documentation pages are available by appending `.md` to page URLs; this page is available as [Markdown](https://docs.eclipse.xyz/developers/developer-tooling/benchmarking/running-amm-benchmarking-tests.md).
# Running AMM benchmarking tests
{% hint style="info" %}
INFO
The following section aims to help us run benchmarking tests on the Eclipse Network.
{% endhint %}
### Why AMM Benchmarking?[](https://icarus131.github.io/devcookbook/docs/Benchmarking#why-amm-benchmarking)
* Essentially, we want to test the performance of the Eclipse Network by obtaining the transactions per second (TPS) that the network can handle and its latency.
### Pre-requisites[](https://icarus131.github.io/devcookbook/docs/Benchmarking#pre-requisites)
* You will have to have nodejs installed on your machine. You can install it from [here](https://nodejs.org/en/download/).
* Now, once you have that ready, you will have to clone our benchmarking repository. You can do that by running the following command:
```bash
git clone https://github.com/Eclipse-Laboratories-Inc/eclipse-benchmarking/
```
* To do this you will also have to ensure that git is installed. You can install it from [here](https://git-scm.com/downloads).
### Running the benchmarking tests[](https://icarus131.github.io/devcookbook/docs/Benchmarking#running-the-benchmarking-tests)
* To run the benchmarking tests, you will first have to navigate to the `token_swap` folder after cloning the repository.
* First we need to install ts-node. To do this, run the following command:
```bash
npm i -g ts-node
```
{% hint style="warning" %}
WARNING
You might have to give super user or admin permissions to install globally or use the `-g` flag.
{% endhint %}
* Now we need to install the dependencies. To do this, run the following command:
```bash
npm i
```
* Make sure to run this command inside the `token_swap` folder.
* Now, the final step is to run the benchmarking tests using the following command:
```
ts-node spam.ts
```
* This runs 10 instances of an AMM performing any specified number of swaps.
### Modifying the benchmarking tests[](https://icarus131.github.io/devcookbook/docs/Benchmarking#modifying-the-benchmarking-tests)
* To modify the number of swaps, we will have to modify the benchmark.ts file inside the `token_swap` folder.
* The following is the code snippet that we will have to modify:
```tsx
...
await mintTo(connection, payer, mintA, userAccountA, owner, SWAP_AMOUNT_IN);
console.log("Run test: benchmark swap");
await benchmarkSwap(275);
console.log("Success\n");
```
* Here we can change the specified number of swaps. The default is 275.
* The above code snippet is located at line 63 in the benchmark.ts file.
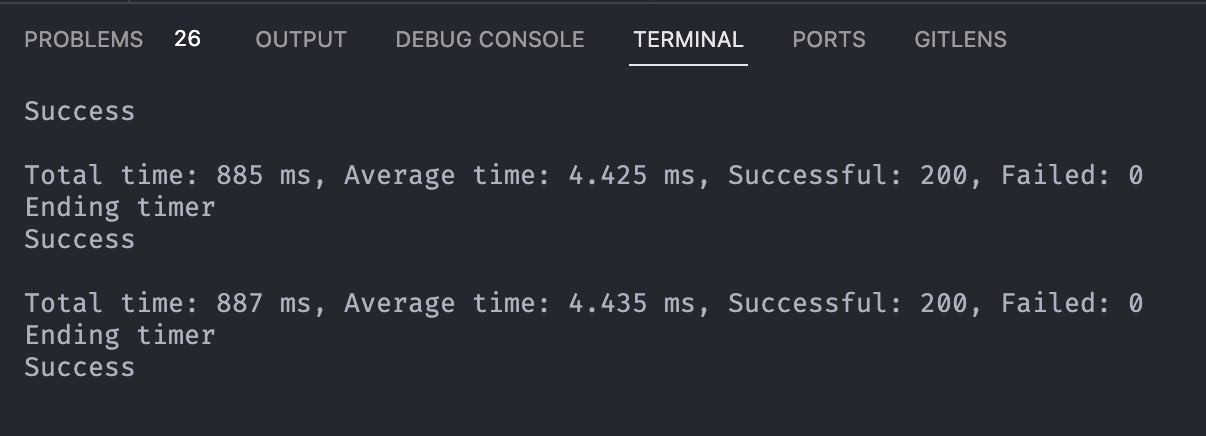
### Example[](https://icarus131.github.io/devcookbook/docs/Benchmarking#example)
* If all the steps are followed correctly, you should see an output similar to the following:
---
# Agent Instructions
This documentation is published with GitBook. GitBook is the documentation platform designed so that both humans and AI agents can read, navigate, and reason over technical content effectively. Learn more at gitbook.com.
## Querying This Documentation
If you need additional information that is not directly available in this page, you can query the documentation dynamically by asking a question.
Perform an HTTP GET request on the current page URL with the `ask` query parameter, and the optional `goal` query parameter:
```
GET https://docs.eclipse.xyz/developers/developer-tooling/benchmarking/running-amm-benchmarking-tests.md?ask=&goal=
```
`ask` is the immediate question: it should be specific, self-contained, and written in natural language.
`goal` is optional and describes the broader end goal you are ultimately trying to accomplish on behalf of the user. GitBook uses it to tailor the answer towards what is most useful for that goal.
The response will contain a direct answer to the question and relevant excerpts and sources from the documentation.
Use this mechanism when the answer is not explicitly present in the current page, you need clarification or additional context, or you want to retrieve related documentation sections.